Markers in Markdown++
Markers are pieces of metadata that can be inserted into a document to add different features or change the behavior of the publication. They are useful for adding keywords to improve search relevance, or for instructing ePublisher to pass text through to the output without processing.
Syntax
The Markers command has two main formats. The preferred format is to start with
marker:, followed by the key and value directly as key="value". This simpler version is ideal when you need to write a single marker value.For more advanced scenarios where multiple markers are required in one statement, you can use the
markers: command, followed by a JSON Object Literal. In this case, the marker names are written as keys and their respective values as values. Make sure all keys and values are wrapped in ", and separated by :. Multiple key/value pairs can be included, separated by ,.Basics
A basic Markers command using the preferred compact version:
<!--marker:Keywords="webworks"-->
# About WebWorks
Adding multiple
marker: statements in a single tag is also acceptable:<!--marker:Keywords="webworks"; marker:Category="documentation"-->
# About WebWorksOr, using the JSON format for multiple markers:
<!--markers:{"Keywords": "webworks", "Category": "documentation"}-->
# About WebWorks
The marker command is also available for inline-level syntax:
Add a custom <!--marker:Keywords="inline"-->**marker**.Or using the JSON format for multiple values:
Add a custom <!--markers:{"Keywords": "inline, marker"}-->**marker**.Mix with Other Commands
Markers can be used in the same comment tag with other commands. Separate them with a
; character. Below, a Custom Style and a marker are written in the same tag:<!-- style:CustomStyle ; marker:Keywords="webworks" -->Or using the JSON format for multiple markers:
<!-- style:CustomStyle ; markers:{"Keywords": "webworks"} -->Markers Behavior
Markers associate a piece of metadata with an element on the page. To learn more about ePublisher's built-in markers and what they do, see the Markers reference table.
Using a Marker
To use a marker, first add it to the intended area of the content. The marker should be tagged to a content element, such as a paragraph or heading.
Below, a Keywords marker is tagged to a Heading 1 using both formats:
Using the preferred compact version:
<!--marker:Keywords="markers"-->
# Using Markers in Source Content
Using the JSON format for multiple values:
<!--markers:{"Keywords": "markers, content, create"}-->
# Using Markers in Source Content
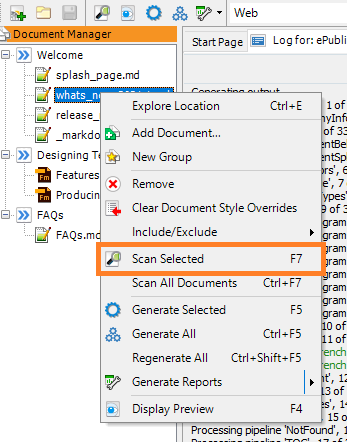
Next, scan the document in ePublisher. This will add the marker to the Marker Styles area of the Style Designer.

With the marker added to ePublisher, you can now generate output with the new keywords. This marker will improve search relevance in outputs with searching capabilities, such as Reverb 2.0.

Last modified date: 01/25/2026