How to supplement or replace Reverb Toolbar Group Tabs
Create an Advanced Customization of the file
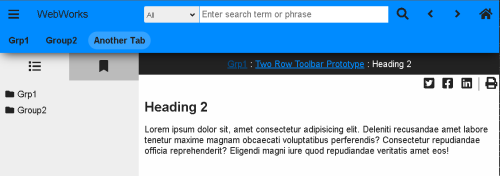
Connect.asp to add to or replace the Reverb Toolbar group tabs.For example:
Reverb 2.0 Toolbar with Additional Tab
Steps
- Create Advanced Target Customization for
Connect.asp. - Locate HTML code for tabs by searching for
toolbar-tabsinConnect.asp. - Copy existing
<li wwpage:replace="toolbar-tabs">..</li>element with sub-content to use as starting point for each new tab to create. - Remove attribute
wwpage:replace="toolbar-tabs"from your newly pasted elements. This attribute is only used to inject a list of the ePublisher project's group tabs into the output.Note: If you want to remove the group tabs from the toolbar, remove thewwpage:replace="toolbar-tabs"from all tab<li>elements. - Specify desired
hrefdestination, usually a context specifier with Topic Alias ID, such as:#context/<TOPIC ALIAS ID>. - Specify desired
titleattribute to produce fly over text for your tab. - Specify the text to appear on the tab itself.
- Optionally, add a target attribute to open page in a new window, which is required for destinations outside of the help set.
- For example:
<a target="_blank" href="#context/LandingPage2" title="Landing Page 2">
Example Reverb Toolbar Tab Code
<ul class="ww_skin_toolbar_tab_group">
  <li wwpage:replace="toolbar-tabs">
    <div class="ww_skin_toolbar_tab">
      <a href="connect/splash.html" title="Home">
        Home
      </a>
    </div>
  </li>
  <li>
    <div class="ww_skin_toolbar_tab">
      <a href="#context/LandingPage2" title="Another Tab">
        Another Tab
      </a>
    </div>
  </li>
</ul>
Last modified date: 01/29/2026