How to Add Documents to Your ePublisher Express Trial
For this trial, we have provided source documents for you to use. ePublisher Express uses an ePublisher Stationery as a style guide and to provide instructions on the look and feel of the output. The ePublisher Stationery can be customized to your own style guide information using ePublisher Designer. This trial has a pre-configured stationery designed to show you the One-Click Publishing workflow ePublisher can provide and how it can benefit you in your day-to-day work. The pre-configured stationery is customized for the source documents we provided. This section will show you how to choose the input file format you would like to work with during this trial.
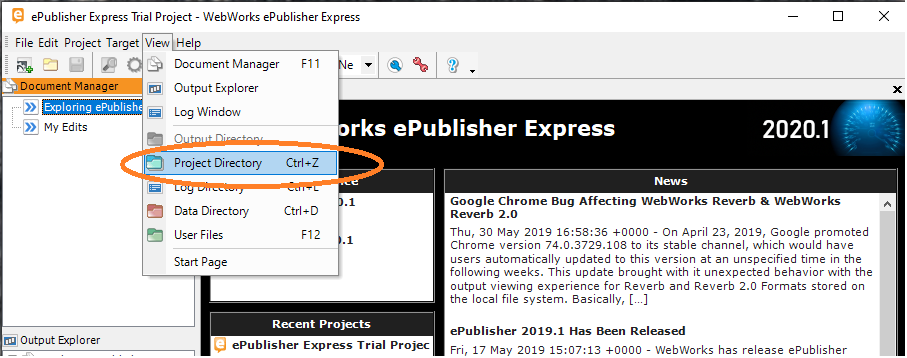
Launch ePublisher Express and find the View tab at the top of the user interface.

Left click on the View tab and select the option “Project Directory.”
This will open a new window where all the folders and files for the ePublisher Express trail are listed. Open the folder labeled “Source-Docs” and you will see folders with different input formats listed. Pick the format you would like to use by opening the corresponding folder.
Once you have opened the format folder, you will see file names that correspond with the group names in your Express project. Drag and drop the corresponding files to the ePublisher Express group one at a time.
If you would like to work with several formats, pick your first one and after those documents have been added to the project you can pick another.
To get back to the start page click the home button  on the tool bar.
on the tool bar. 